Verify Domain On Facebook Business Manager (2021)

Verifying your domain is an important step when creating & setting up your business manager. Facebook tells us that “domain verification establishes which Business Manager account has the authority to configure and prioritize the 8 available conversion events for a given domain.” So, without a verified domain, there could be disruptions in your ability to track data.

So, in this article, I will show you the three different ways you can verify your domain on Facebook!

Would you prefer to consume this content in a video format?

Step 1. Add Your Domain

So the first thing we will do is navigate to business.facebook.com and choose the business manager that is associated with the domain you wish to verify. There should be a few that pop up once you log in, or you can choose it from the drop down on the left hand side.

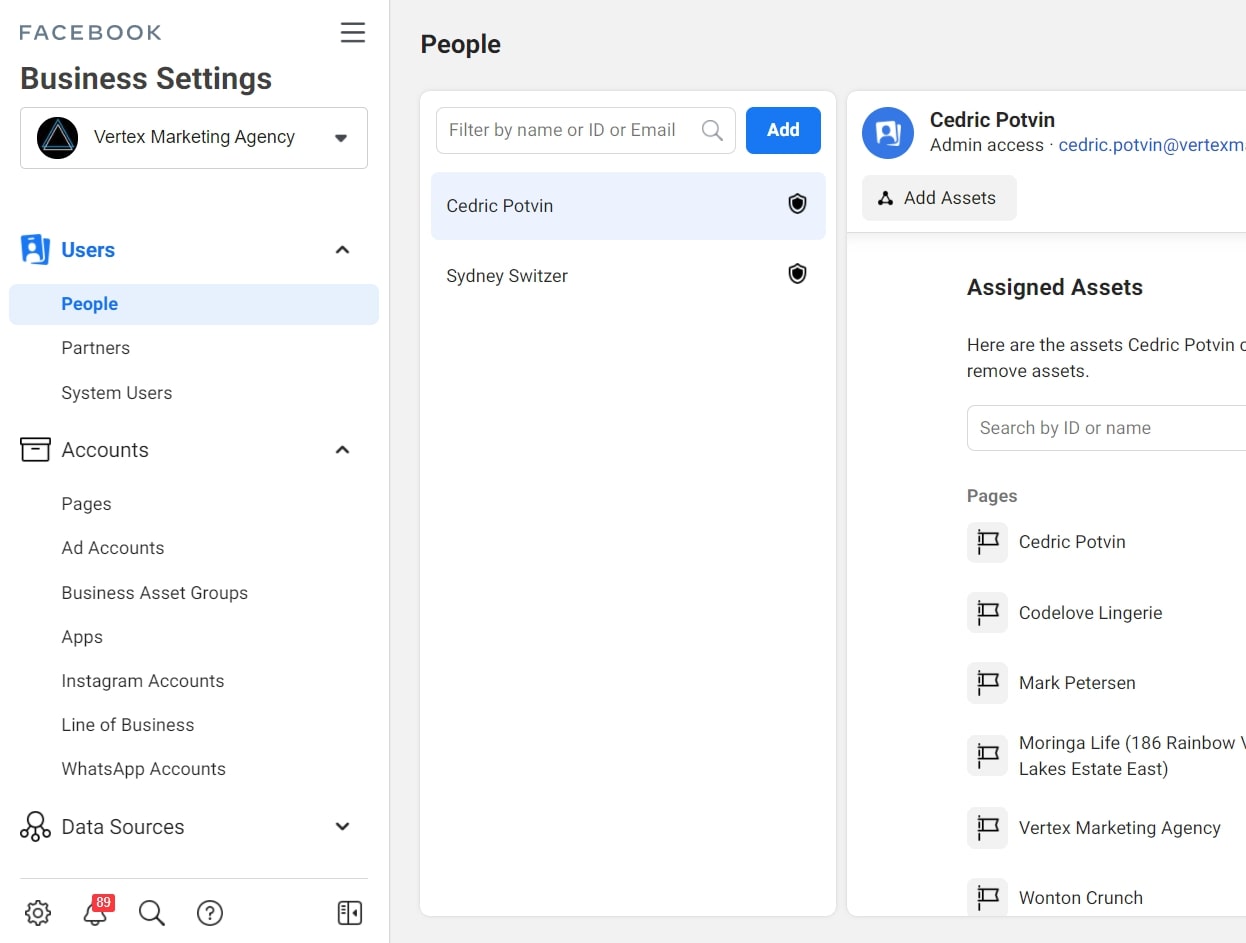
Once you’re on your business manager homepage. You’re going to want to click on business settings. It should bring you to this page.

Facebook Business Settings
Please Note: If, for some reason you see something different when you log into business.facebook.com you’re most likely in business suite (not business manager). You’ll want to scroll all the way down to the page and on the left side, press the “Give Feedback” button and revert back to business manager.

Business suite is a more simplified overview of your business, but doesn’t have all the setting that business manager does!

Once you’re sure you’re in business manager and business settings, scroll down to where it says brand safety, and click on domains.

Add your domain that you want to verify.

Once you’ve added your domain, it’s time to verify your domain to prove to Facebook that indeed, you own that domain. To verify your domain you can use one of the three methods shown below.

Option #1: Verify Your Domain Via DNS

I decided to start by showing you how to verify your domain using this method because this is my preferred method.

The image below represents Facebook’s instructions sharing how to verify your domain via DNS. Please use the TXT record that is given to you by Facebook and not the one below.

Using DNS to verify your domain on Facebook
So they saying that you need to log in to your domain registrar and visit the DNS records section. So let’s do that!.
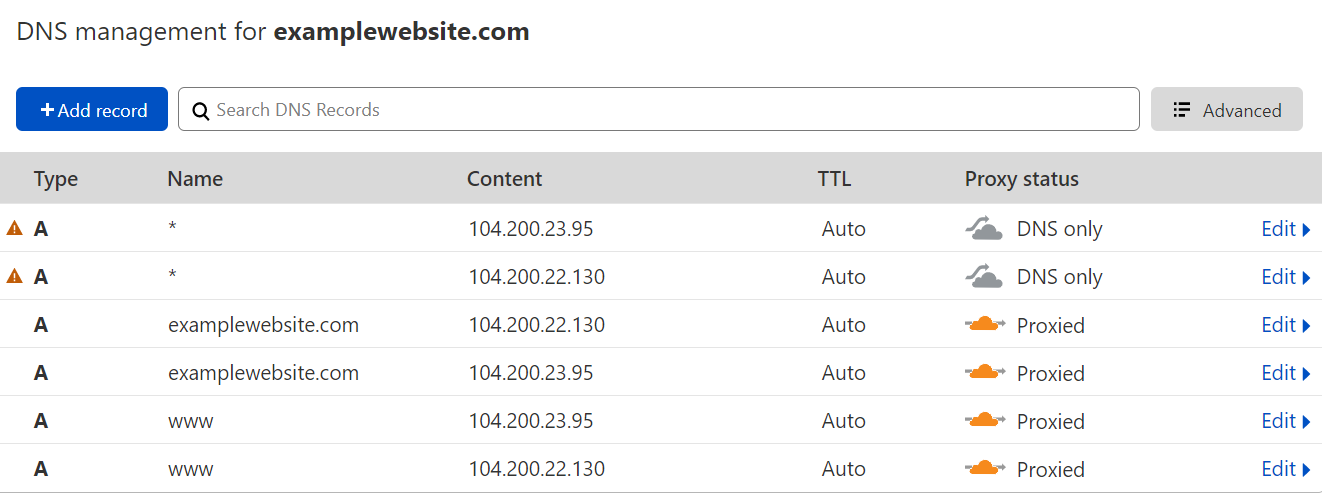
Cloudflare DNS management
P.S in case you’re wondering, I’m using Cloudflare for this demonstration
So Facebook says we need to add this TXT record (as shown in the screenshot) in your DNS configuration.
adding Facebook txt record in cloudflare
Hit save. If for some reason you need to answer more values or more questions in order to save your TXT record, let me know in the comment section in this video (youtube), and I can help you if you’re stuck trying to create that TXT record.

But for the majority of cases, it’s just going to be as simple as selecting your type, your name, the TTL,  and you can set it to “auto”.

Once your TXT record has been added, Facebook says that you’ll have to wait about 72 hours because that’s how long sometimes it can take your DNS to update.

Now just click the big green “Verify” button. And that’s it!

Option #2: Verify Your Domain Via HTML File Upload

So now let’s talk about verifying your domain via the HTML file upload.

What you need to do is download this file right here:

Verify the domain by downloading the HTML file
Now, head over to your website’s file manager and locate the public_html folder and simply upload the file I made you download.

Don’t forget to click the “Verify” button once the file has been uploaded.

Option #3: Verify Your Domain Via Meta-Tag

Now let’s look at the third way of doing it, which is the meta-tag verification.
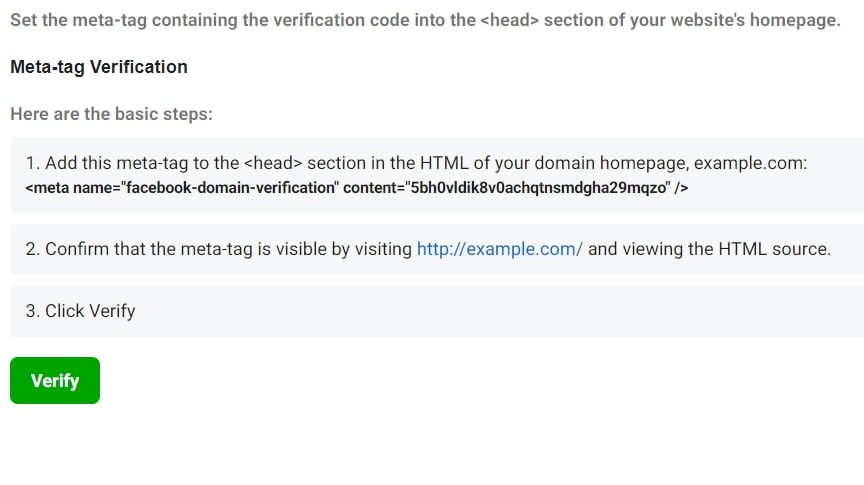
Verify domain using the meta-tag
Facebook is saying that you need to add this meta-tag to the head section in the HTML of your domain homepage.

So this is what we’re going to do! I’m going to go into my demo WordPress store for this one, but if you’re using Shopify the process is the same, all you have to do is locate the head section and then paste the code.

In WordPress, you can easily do so by navigating to appearance and after theme editor, and you’ll want to locate the header file.
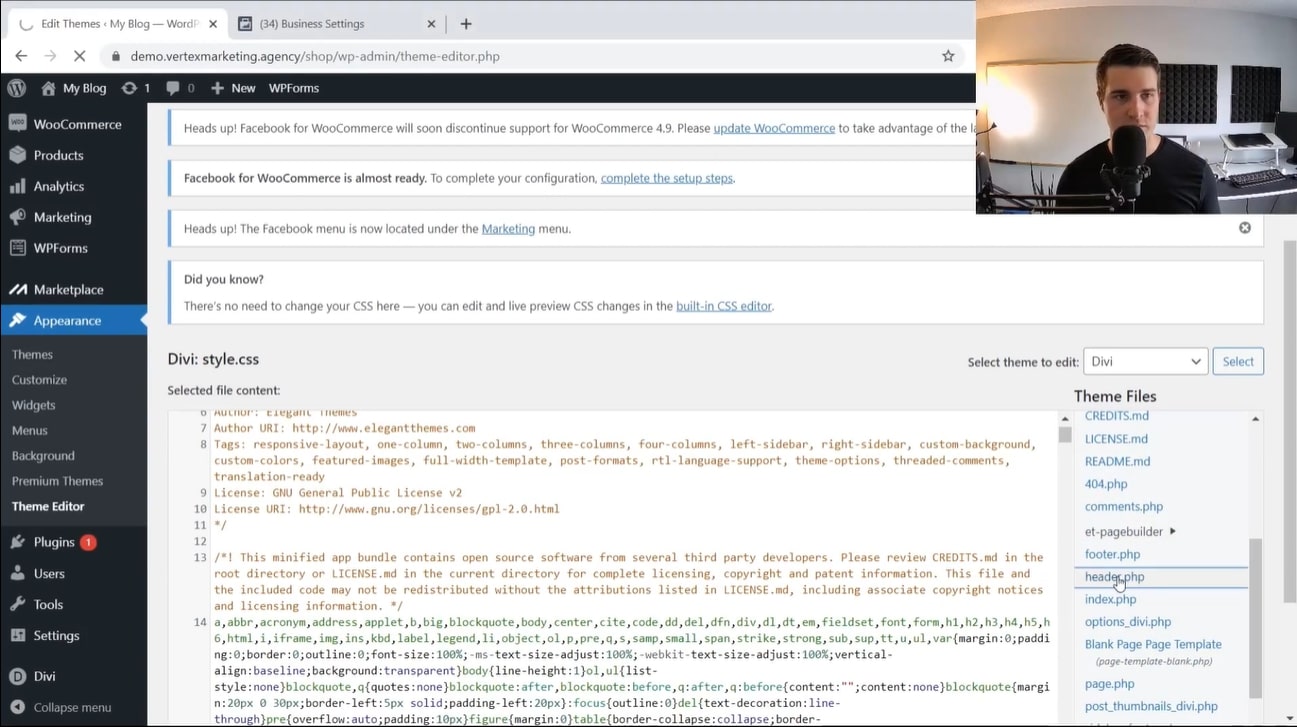
Wordpress theme header
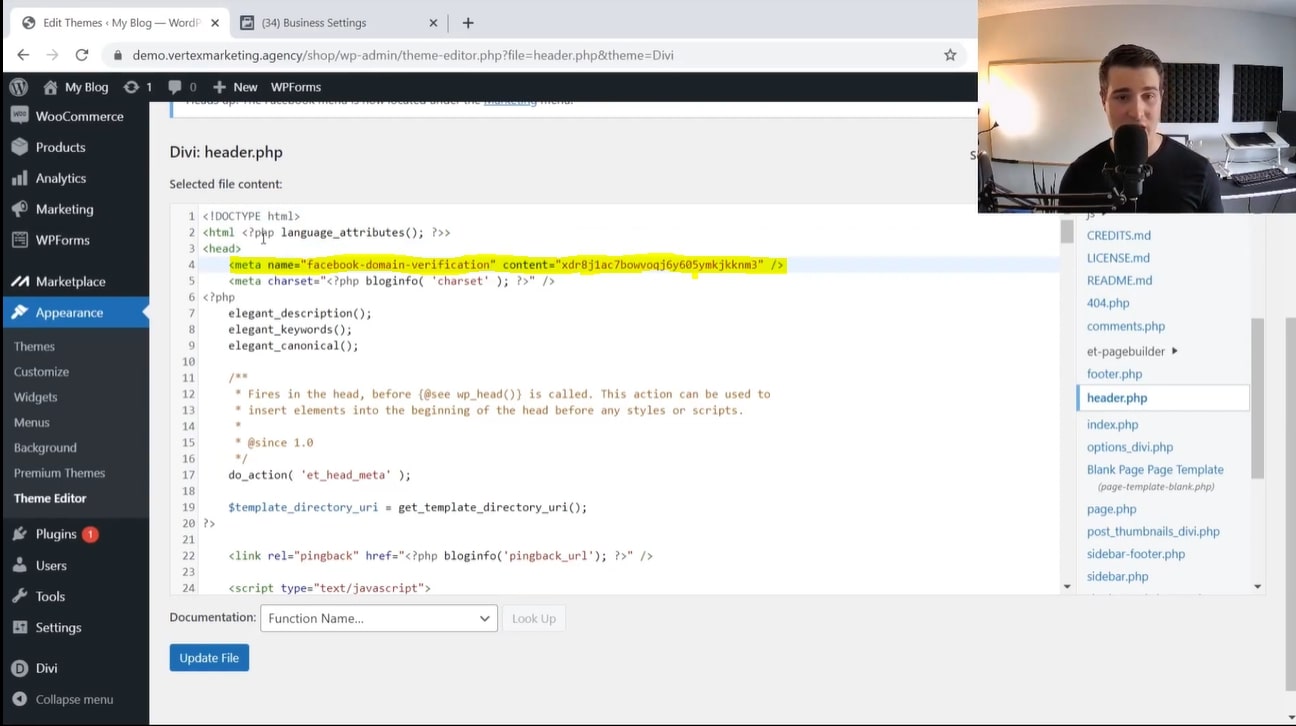
So once you lace the theme header file you’ll want to past the meta-tag code Facebook gave you in the <head> section of the file (see image below).
add meta-tag verification to the theme header

Conclusion

There you have it Three different ways that you can verify your domain with Facebook and business manager.

I strongly recommend that you verify your domain using the DNS verification method. The reason for doing that is the following:

Let’s say you decide to make some changes to your theme or change 5 years from now…  Well, you’re always going to have to add that code back in your new theme in order to keep that domain verified.

However, with DNS verification, even if you change your theme it’s still going to be in your DNS records and that’s not really going anywhere unless you actually go in there and remove it. Once it’s set up, you can essentially forget about it and make as many changes as you want to your website without even worrying about domain verification!

About The Author:

Cedric Potvin

Cedric Potvin

Facebook ad specialist

As a Facebook ad specialist at Vertex Marketing Agency, Cedric manages a lot of different ad accounts and spends a lot of money on Facebook ads. His goal is to share what he learns with the rest of the population.

Pin It on Pinterest

Share This